We will use Mocha hooks (before, after) as well.
Also we will use console in Windows to set up the project and execute tests.
Skip the steps that you have already done:
1. Install the actual version of Node.js
2. Install and set Git for Windows to use it as terminal.
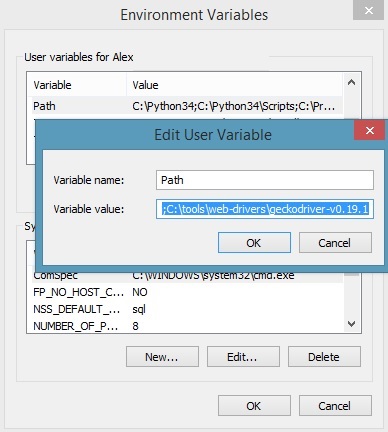
3. Download Gecko driver from: https://github.com/mozilla/geckodriver and store it in some folder, for example: C:\tools\web-drivers\ .
4. Add the driver location to the PATH:
5. Run NetBeans IDE
6. File > New Project

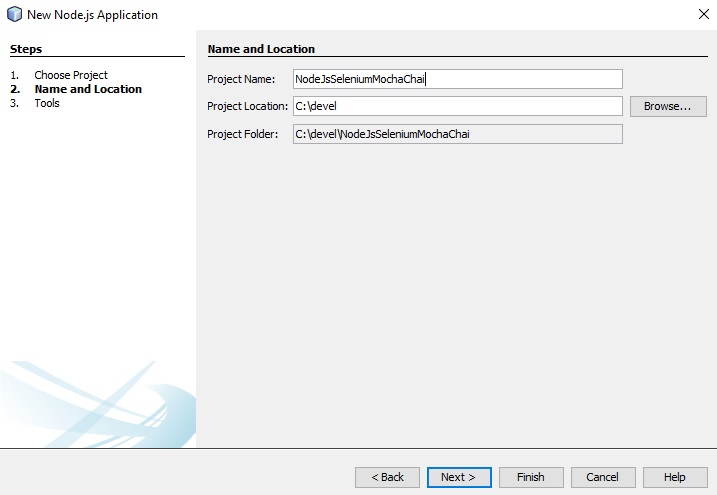
7. Select Node.js Application > Next and then enter the project name and location:
8. Click Next and select Create package.json:

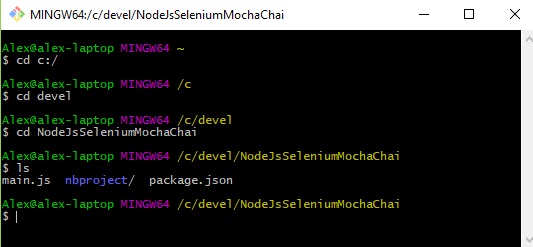
9. Git-bash and go to the project directory:
10. Install the libraries:
Mocha:
npm install mocha --save-dev
Chai:
npm install chai --save-dev
Selenium Web Driver:
npm install selenium-webdriver --save-dev
Open package.json and see the dependencies have been added:

11. Create 'test' folder with unit and 'e2e' subfolders:

12.Open project Properties and select the subfolders as Unit Tests Folder and Selenium Tests Folder:

13. Click Selenium Testing and select Mocha test runner:


14. Set ES7 for the project in Settings:

15. Create 'blog.test.js' file in 'e2e' folder and copy/paste the following code:
const {assert} = require('chai');
const webdriver = require('selenium-webdriver');
const Capabilities = require('selenium-webdriver/lib/capabilities')
        .Capabilities;
const capabilities = Capabilities.firefox();
capabilities.set('marionette', true);

let driver;

describe('Automation Playground tests', async () => {
    describe('When verifying the blog title', () => {
        it('should be equil to Automation Playground', async() => {
            const title = await driver.getTitle();
            assert.equal(title, 'Automation Playground');
        });
    });
});
before(async() => {
    driver = await new webdriver.Builder()
            .withCapabilities(capabilities).build();
    driver.get("https://automation-playground.blogspot.com");
});
after(async() => {
    await driver.quit();
});
16. Click Run Selenium Tests:

The following test scenario will be executed:
- run Firefox browser
- go to https://automation-playground.blogspot.com
- verify the blog's title
- close Firefox browser
17. Lets run the test via command line in Git Bash, enter the following command in the project root directory:
mocha ./test/e2e/*.test.js --timeout 20000
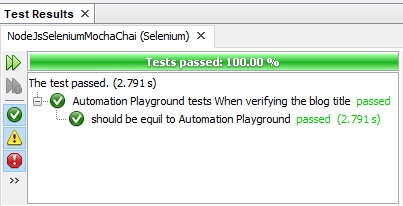
Test will run again and...

Test passed again!


No comments:
Post a Comment